
Picking up from where I left off last time, I recently got to put the dash back together.

It pained me to pull the dash all apart just to get the glove box back out but I think it was worth the trouble. In the last post I introduced "THE hole", a project that turned into a bit of a nightmare with some really dumb mistakes. After fixing everything and getting back on track I moved onto laying down more of the same adhesive back felt I had used under the MS2. This time it would be over the area surrounding where the fuse block is mounted. Originally intended purely for aesthetics, it also doubled as a great way of hiding my repairs. The material had some stretch to it so I was able to make it appear fairly seamless. After it was all in place I used an exacto knife to trim out the hole for the fuse block to poke through.

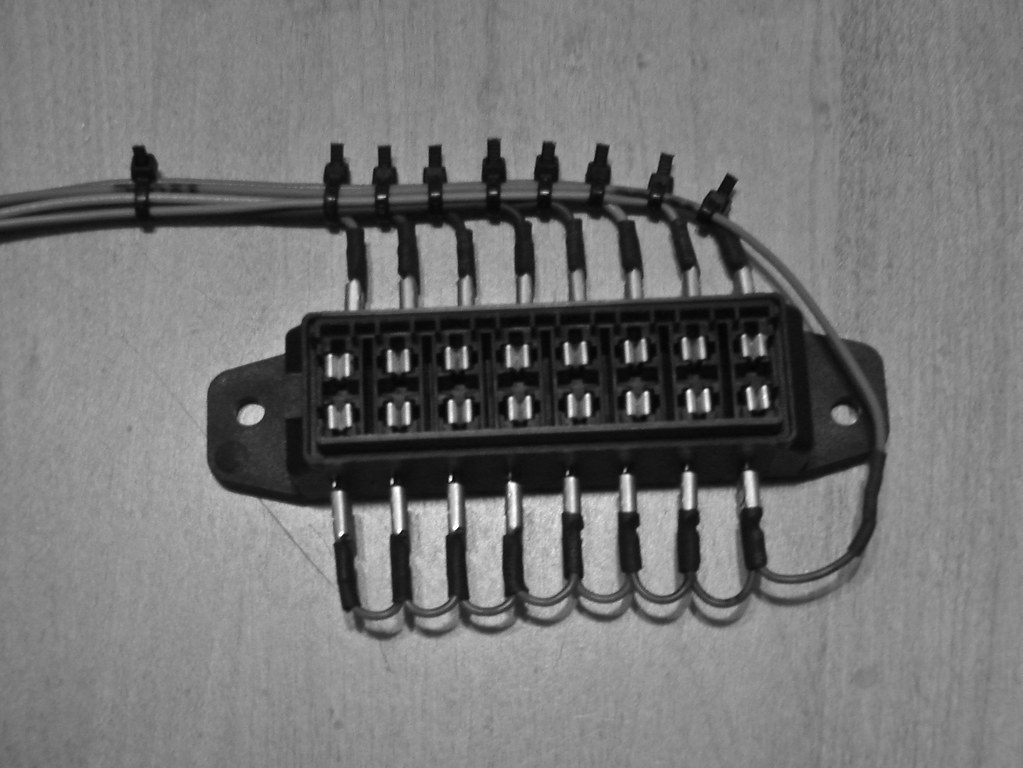
With everything set with the glove box I moved onto wiring. Like the rest of my wiring I wanted it to be simple yet removable. To get power to each slot I soldered jumpers between quick-disconnect terminals leaving some extra wire to connect to a lead. On the other edge of the fuse block I separated everything I would be powering into individual colors and, again, used quick-disconnect terminals. Only six out of eight of the slots are in use but I wired up the extra two terminals anyway. In the instance I find a use for these I simply have to run wiring to the female half of the 12-pin connector.
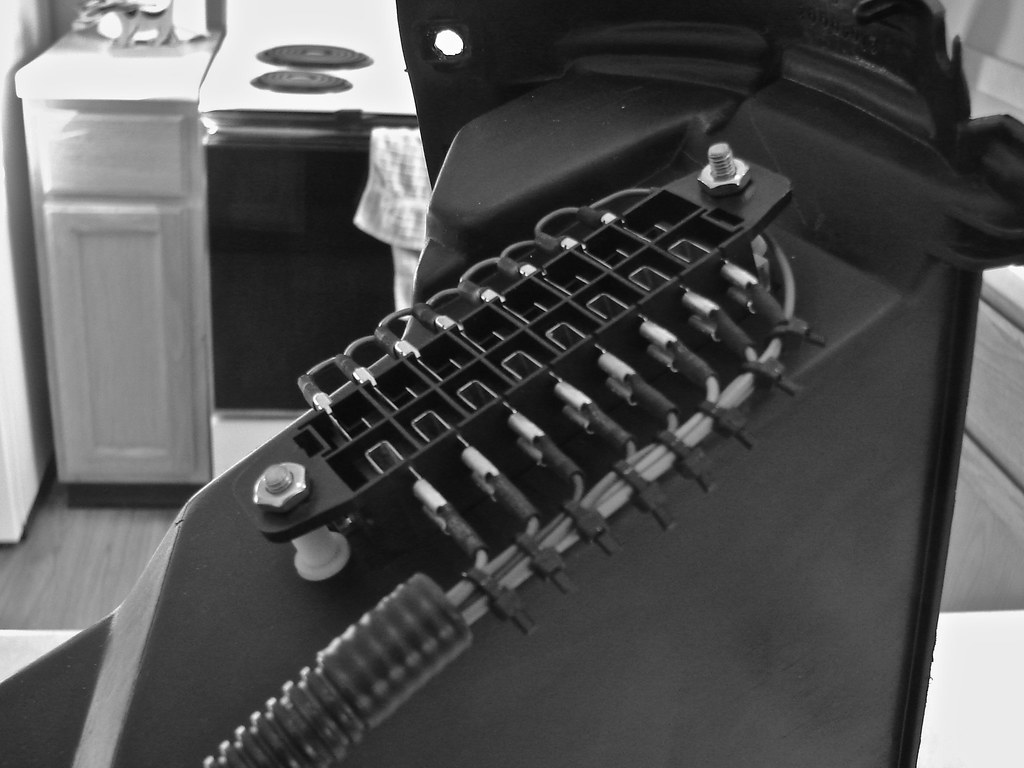

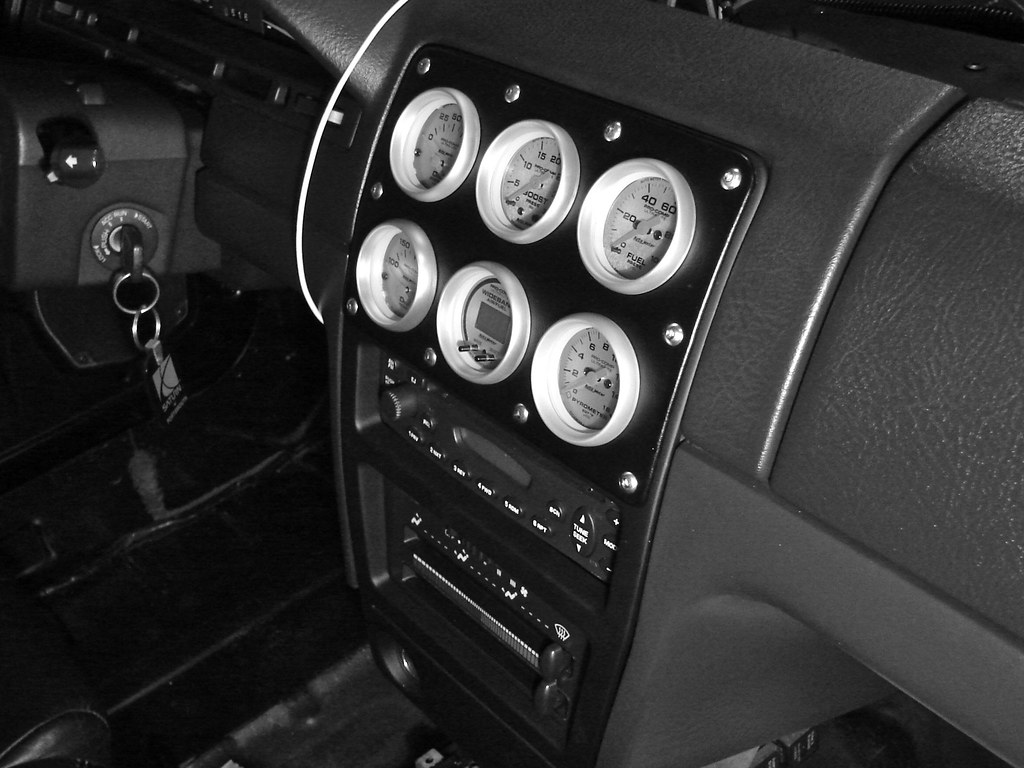
The assembly is mounted to the glovebox with some stainless steel socket cap screws and nuts. A pair of nylon standoffs (which happened to be the appropriate length) space it away from the opening. With the wiring loomed I was to able to put the glove box back in place. I was a little nervous about reinstalling everything. Before starting this project I had done some mocking up and test fitting but wasn't sure if I would find interference with any of the wiring. With everything back in place I discovered that there was a bit more room than I had thought (I was able to get a peek of the backside through openings in the sub dash from behind the Autometer cluster). I do still have to make the connections to the female half of the 12-pin connector but I am waiting for it to warm up a bit.
No comments:
Post a Comment