
...almost at least. Not a whole lot to see here but I'm providing a visual anyway (please note that I tucked the harness away after taking this photo).
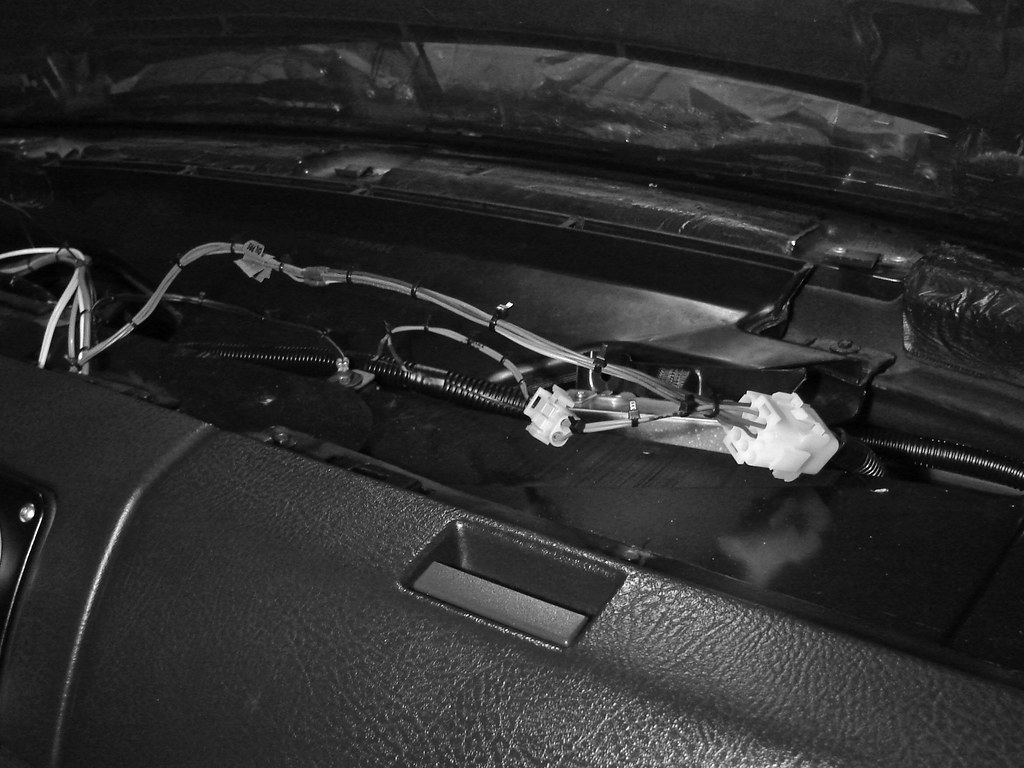
I decided to man up and brave the cold to get the remaining wiring out of the way. This consisted of tying the female half of the fuse block harness to the leads off of my gauge cluster harness as well as the MS2. I did manage to create a redundant connection. I put a 2-pin connector in between the female 12-pin and the MS2 harness for my power lead and the MS2 lead to keep things disconnect-able in the event I pull any of the wiring. I could have accomplished the same thing by bypassing the 12-pin connector completely for the 2-pin, but the two leads were already pinned out in the male half of the 12-pin. It seemed like a waste to remove them. As usual everything was soldered, shrink-wrapped, then tidied with zip-ties. The only thing keeping me from putting the dash top back on; I need to tap into the dimmer switch for the gauge illumination (I ran out of connectors) and I want to run an extra wire through the firewall grommet for the manual fan switch.
