
We are up to speed! I can finally move onto posting updates with new progress. Please forgive the gap between my last archive post and now. I definitely have my work cut out for me after transferring my old posts, re-editing all of my photos, and switching to a better image host (Flickr). So what have I gotten done in the meantime?
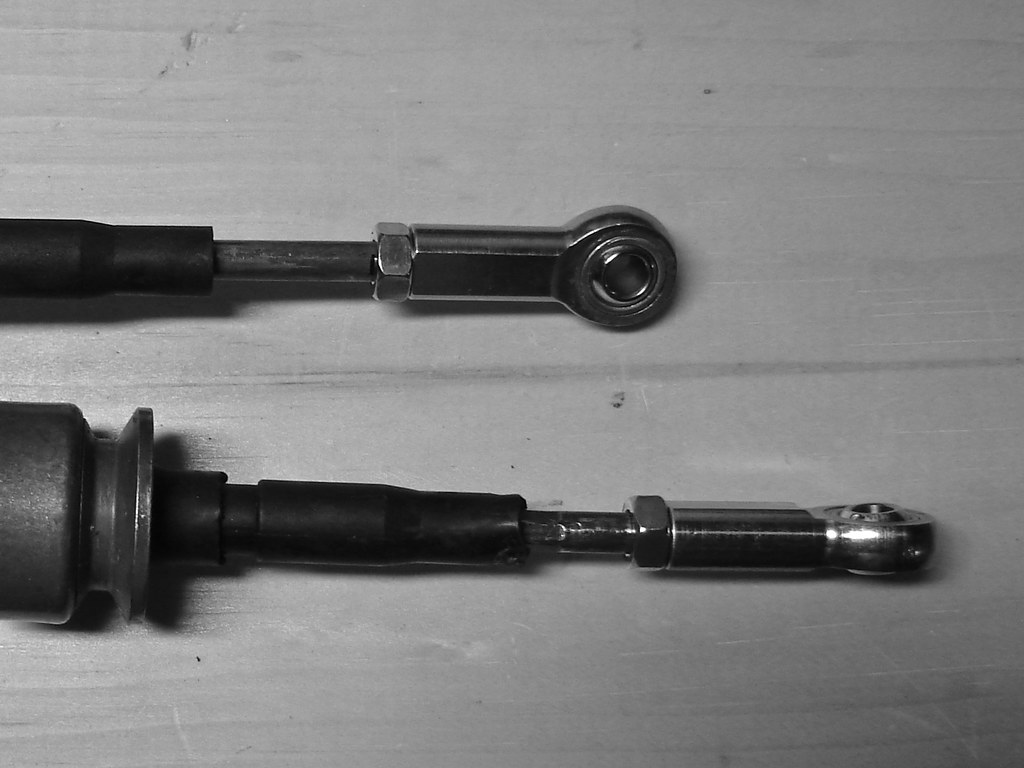
Yesterday, picking up on my shifter build, I altered the interior end of a spare set of shifter cables. One of the features of the new shifter was mounting for ball joint rod ends (or helm joints), from McMaster-Carr (part #6072K155), to eliminate the stock plastic cable ends. Attaching these was a very straight forward procedure. I eyeballed the rod ends against the stock ends so I could get a rough measurement of how far to thread the metal rod (marked with a sharpie).
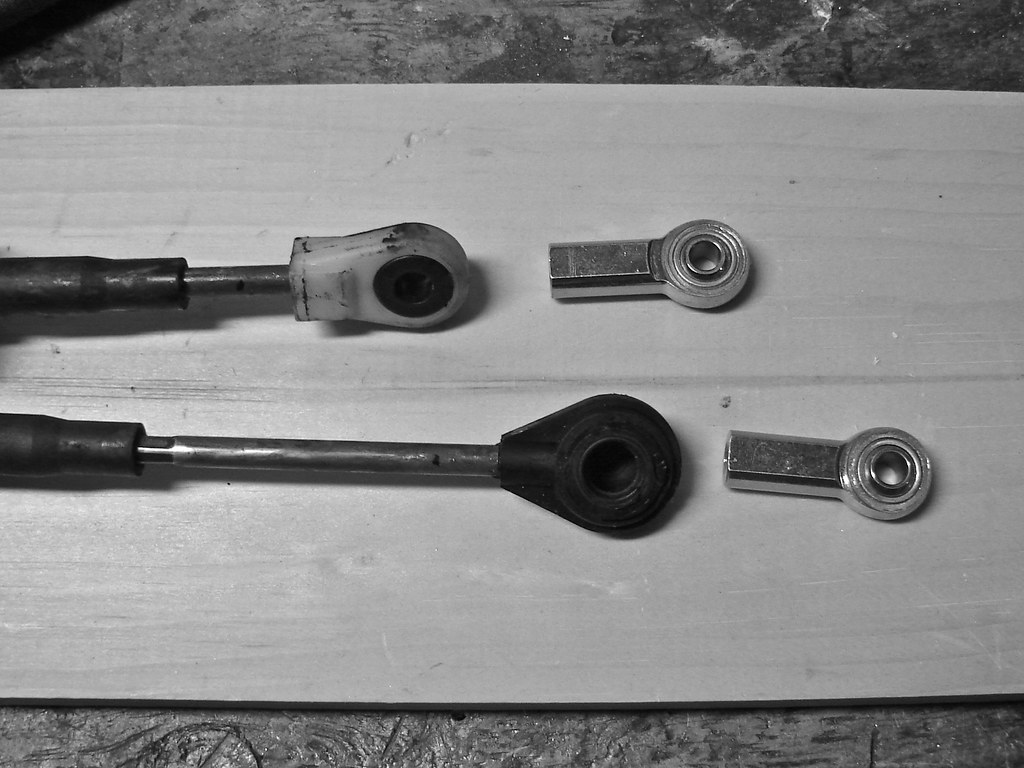
To remove these stock ends I set up each cable in a vice and cut into the plastic enough so they would break away with some force. This fully exposed a groove that retained the cable ends which had to be cut off. After cleaning my cuts with a hand file I simply ran a 1/4"-28 dye down the metal rod a good 1". A stainless steel 1/4"-28 jam nut was spun into place before installing the ball joint rod ends with red LocTite. With my cables finished Justin and I set about removing the stock ones still in the car. Unfortunately after a brief fight and no luck we called it quits due to the dropping temperature. Thank you Justin for the extra hand!
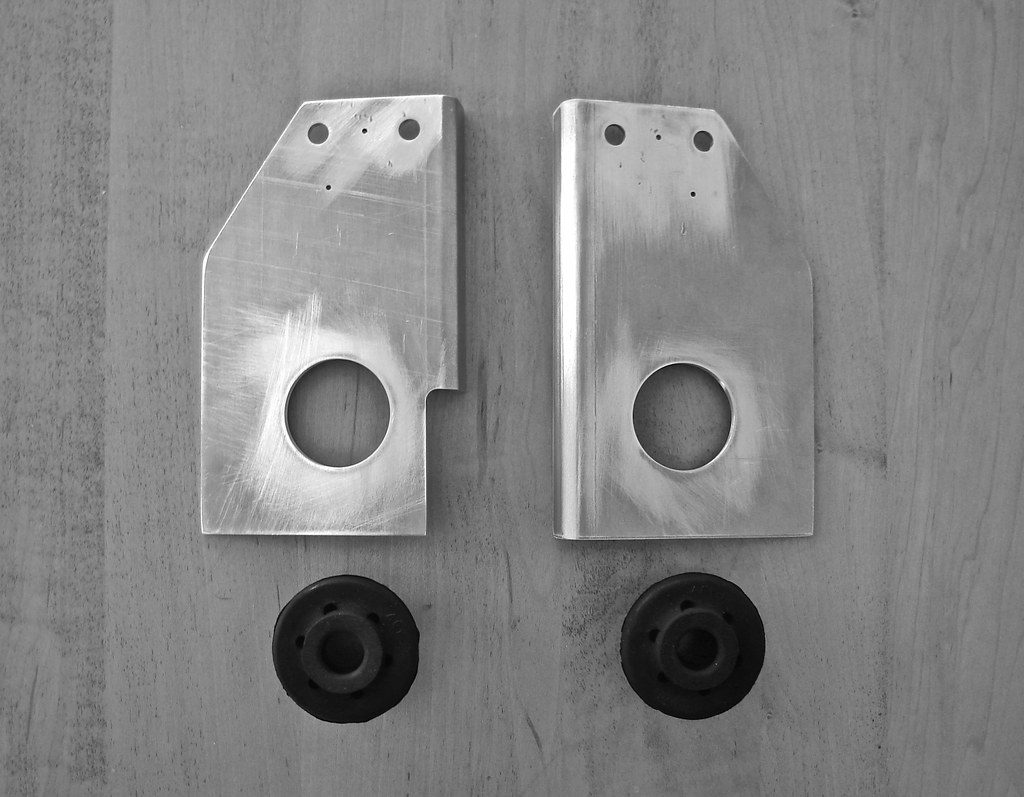
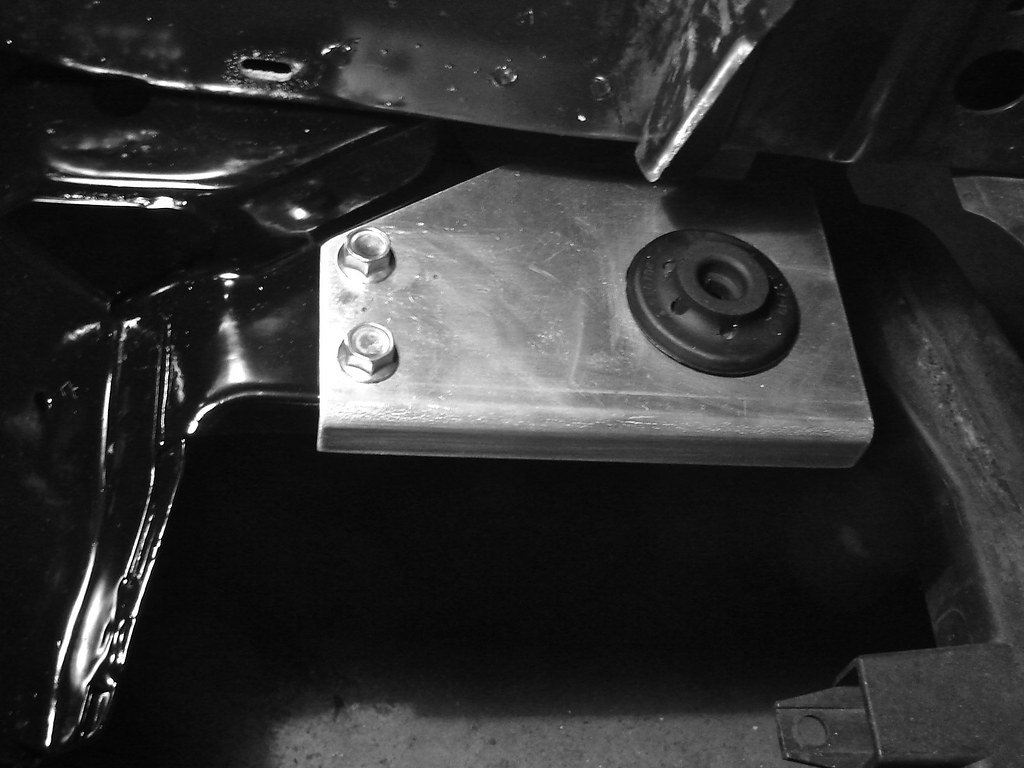
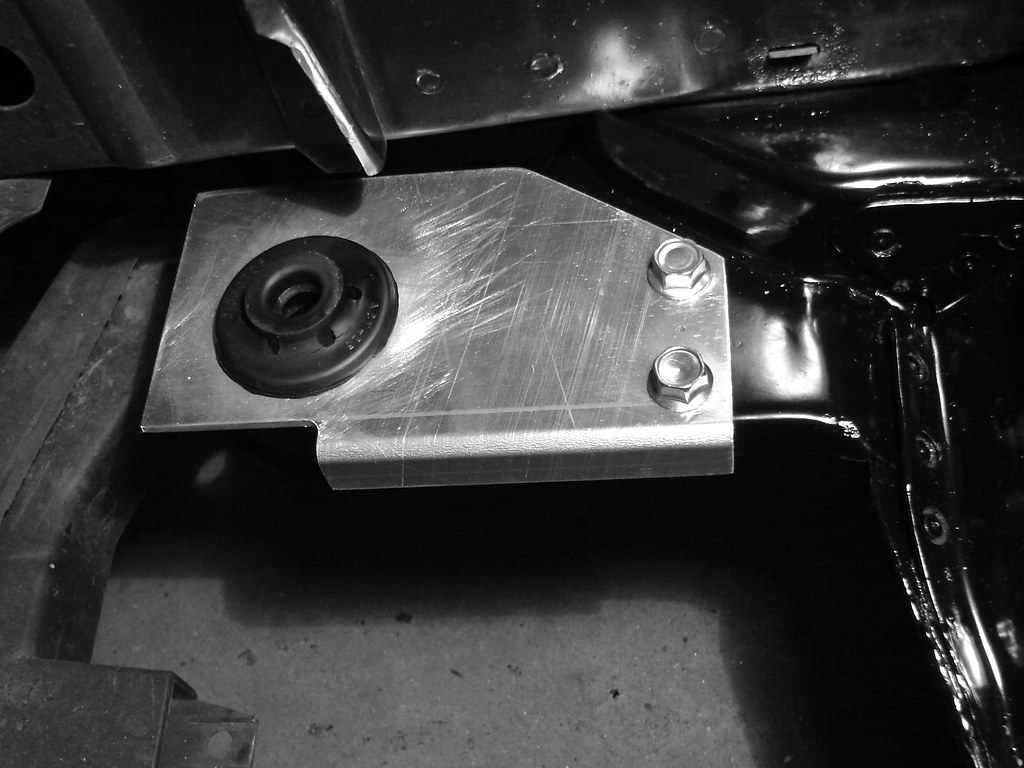
Earlier in the day I also installed my radiator relocation brackets. When I first test fit my manifold and turbo it was obvious that I was going to have interference with the stock location of the radiator. The simple solution would be pushing the base of the radiator forward to create the extra room needed. To do this I made up a set of simple aluminum brackets to bolt over the preexisting radiator mounting points at the forward end of the engine cradle. There was enough material there to secure these brackets with a pair of flared stainless steel 5/16"-18 nuts & bolts (which I also purchased through McMaster-Carr).
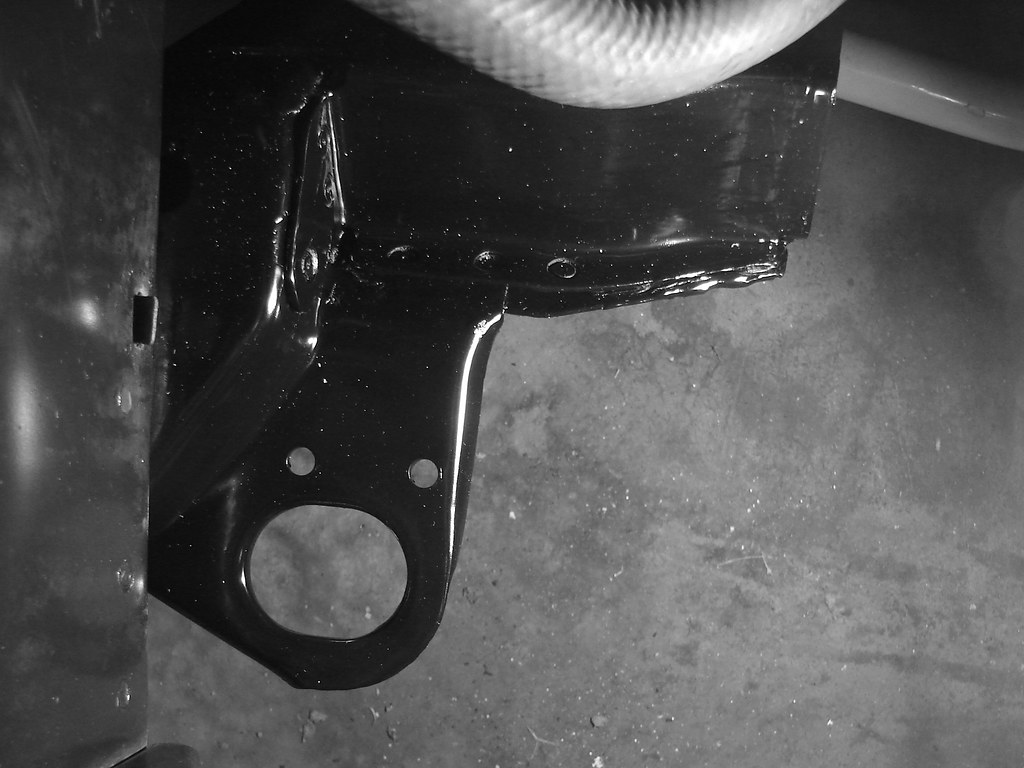
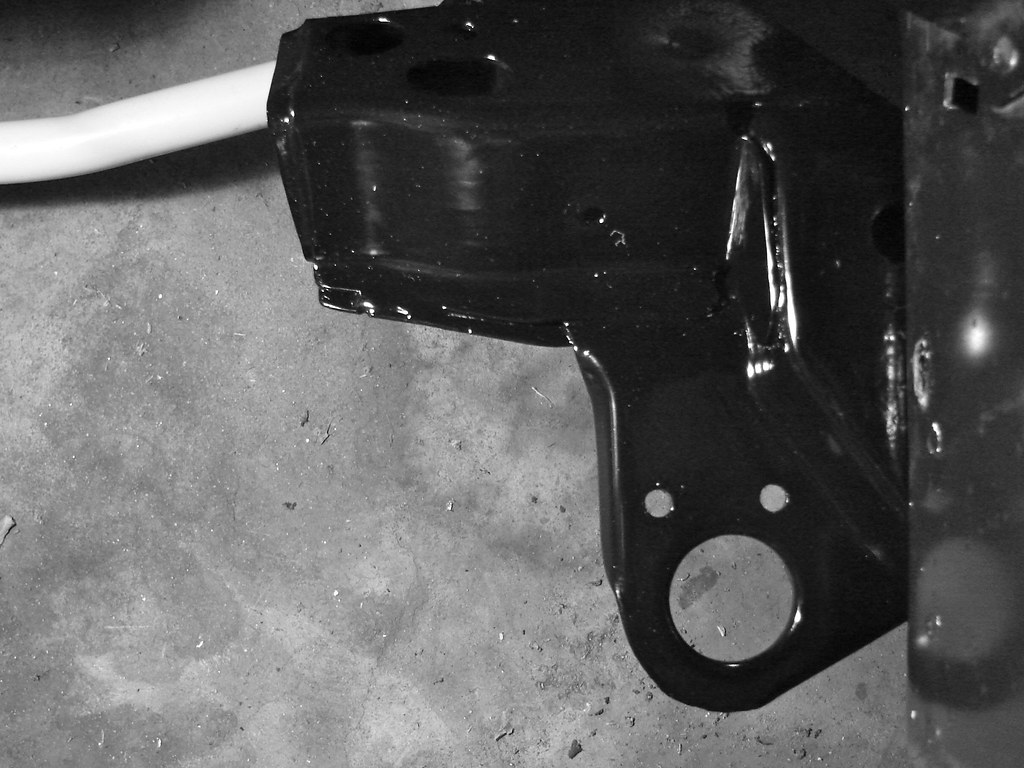
Prior to installation I took some time to touch up the portion of the cradle which can be seen from the engine bay. This area was fairly beat up from the initial removal of the drivetrain and crossmember so I masked it off for a fresh coat of Rustoleum semi-gloss black. Next on the agenda is to finishing pulling the old shifter cables out so I can finally install that shifter and the cables as well as dropping in my AMR Engineering radiator; more on that soon!
No comments:
Post a Comment