
As mentioned in an older post, the nose of the car would no long fit over the intercooler.
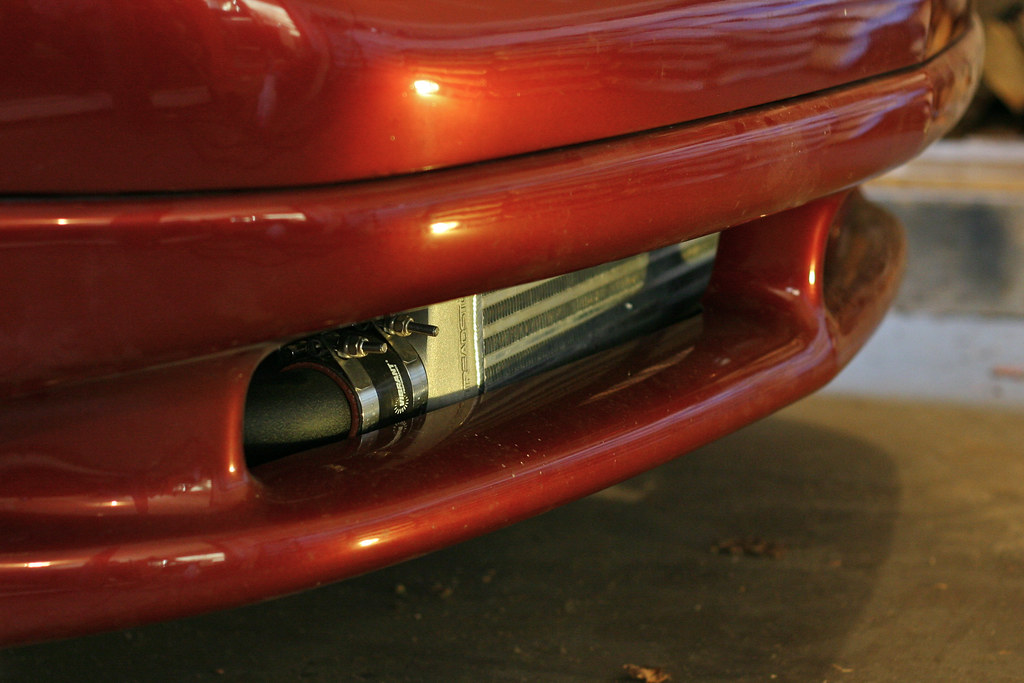
To remedy this required some trimming of both the bumper and lower reinforcement (I was certain that I had taken pictures of the modified reinforcement, but have been able to find them). The lower reinforcement is a plastic piece that used to include the grill (cutting this out was one of my earlier modifications) and simply holds the lowest portion of the bumper in place. To clear the intercooler I ended up cutting away a majority of it.

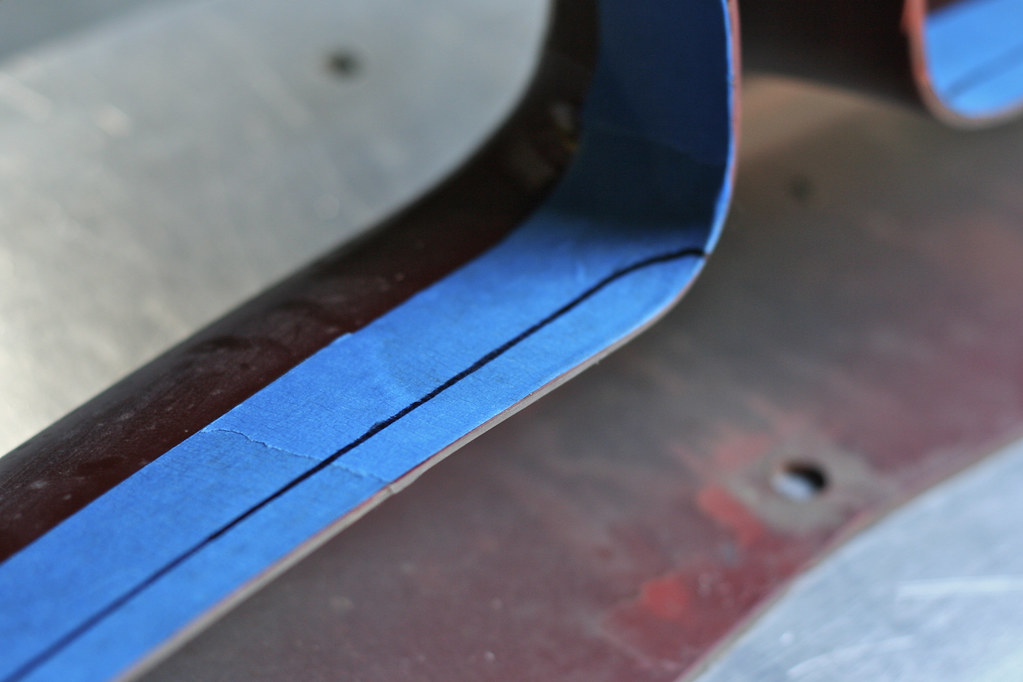
Seeing as I'm not exactly an expert in bodywork, I was nervous about cutting up my bumper, for fear of being unable to make a clean, straight cut or screwing up my paint - I wanted my alterations to be invisible. After some test fits and some rough measuring, I determined that I would be moving the inside edge forward half an inch. To lay out my line I first put down several pieces of painters tape, following the slight contour along the edge of each opening. Afterward, I marked 1/2" inward every couple of inches with a pencil. These marks would define my new edge, which I laid out by using more tape (this time following the contour of the pencil marks) and tracing with a sharpie. The corners were drawn in by tracing the closest round object I grabbed. Once I was satisfied that both sides were identical, I got out the dremel tool.

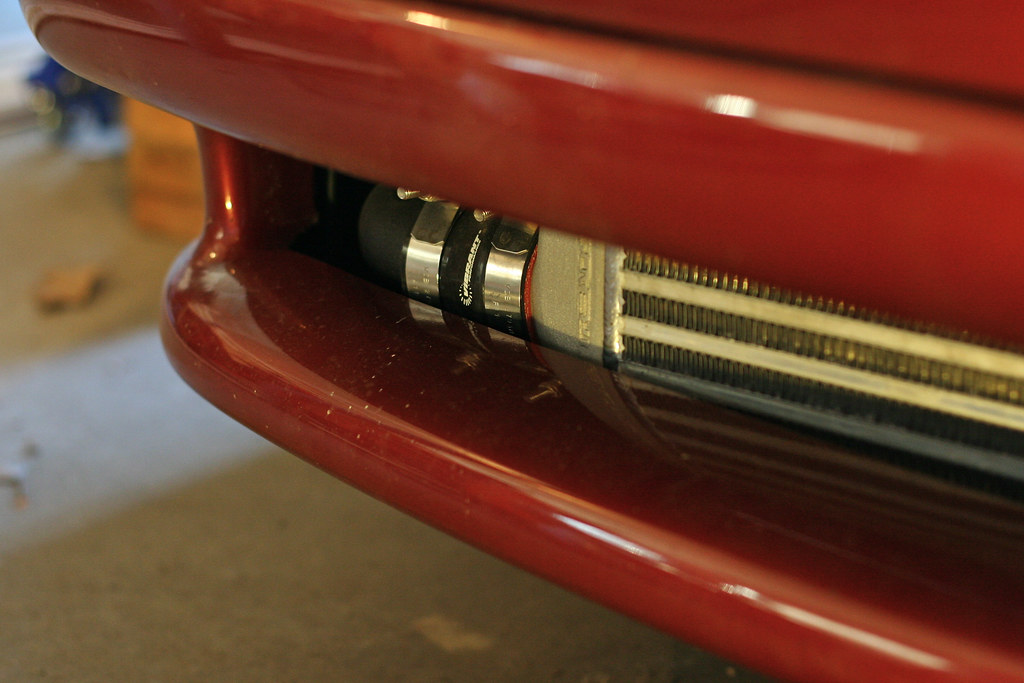
A reinforced cutting wheel was used to rough cut away most of the material. I used a combination of sanding discs and drums to work my way up to my line, using quick sweeping passes to level out the edge. To finish, I used some 120 grit to refine and smooth the final edge. Of course, a test fit ensured that I had cut away enough of the bumper. Before final assembly, I also swapped on a new (to me) upper nose that I snagged from the Sixthsphere classifieds. This replacement not only had much better paint than the outgoing, but it also came from a car without a front plate (no holes). Everything was loosely installed first, and then tightened down after I tweaked the fenders, nose, and hood for good gaps.
No comments:
Post a Comment