
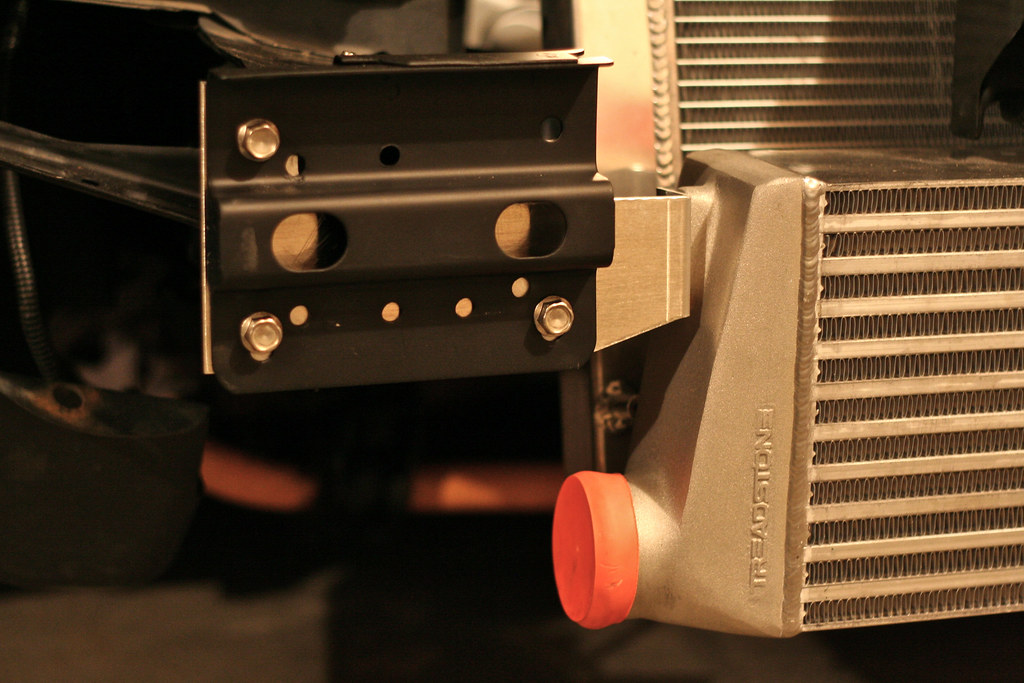
I may have gone a bit large for my initial stock-lower-end setup. What I now have hanging off the nose of the car is a Treadstone TR8L bar and plate front mount intercooler that measures 7.8" x 24" x 3.5" (the TR8L has a core that is 2" longer than the normal TR8). I'm sure a TR8 would have been more than plenty, but without any difference in price (as well as a crazed notion that I will no longer need to upgrade in the future) I was set on the larger of the two.
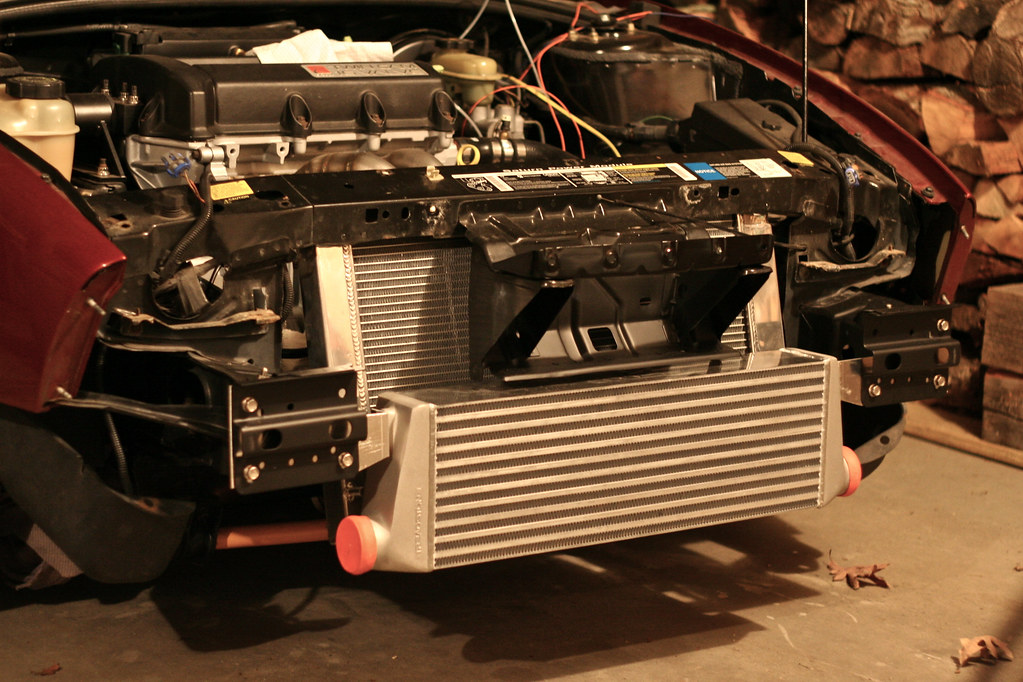
To make it fit most of the nose was going to have to go. Most people seem to mount their intercoolers between the radiator and front crossmember, however my radiator was already pushed into this free space to clear the turbocharger. So, off came the crash beam with styrofoam, and the lower plastic that supports the bottom of the bumper. Despite the added room it was clear that, with the front crossmember still in place, the intercooler would still sit too far forward.

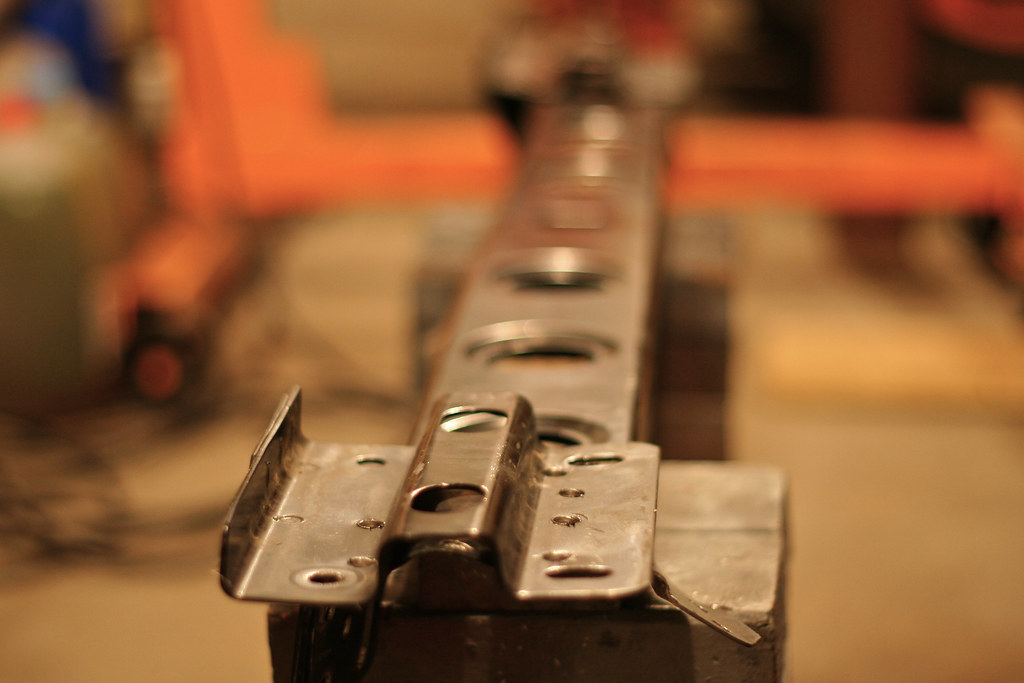
Now I could have probably gotten out the hacksaw and been down with but, instead, I went to work with the drill and hunted down every spot weld holding the thing in place. This turned out to be no small feat. The crossmember was actually sandwiched between the frame rails and some brackets which provided mounting points for the items I had unbolted and tossed aside earlier. These same brackets were to become the new mounting points for my FMIC, so I did my best to keep these as intact as possible. After finding myself continuously going up the drill index to break the welds I got frustrated and resorted to a cold chisel and a mallet to finish the job. It wasn't pretty. I was able to confine most of the damage to the material I wouldn't be reusing, though I did have some clean up to do.

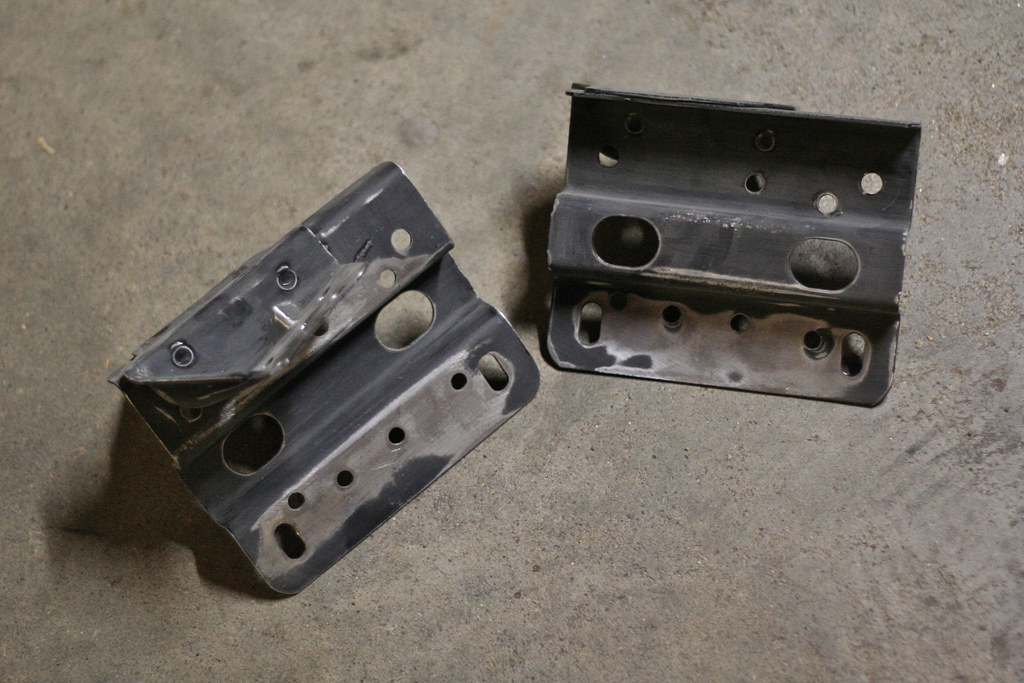
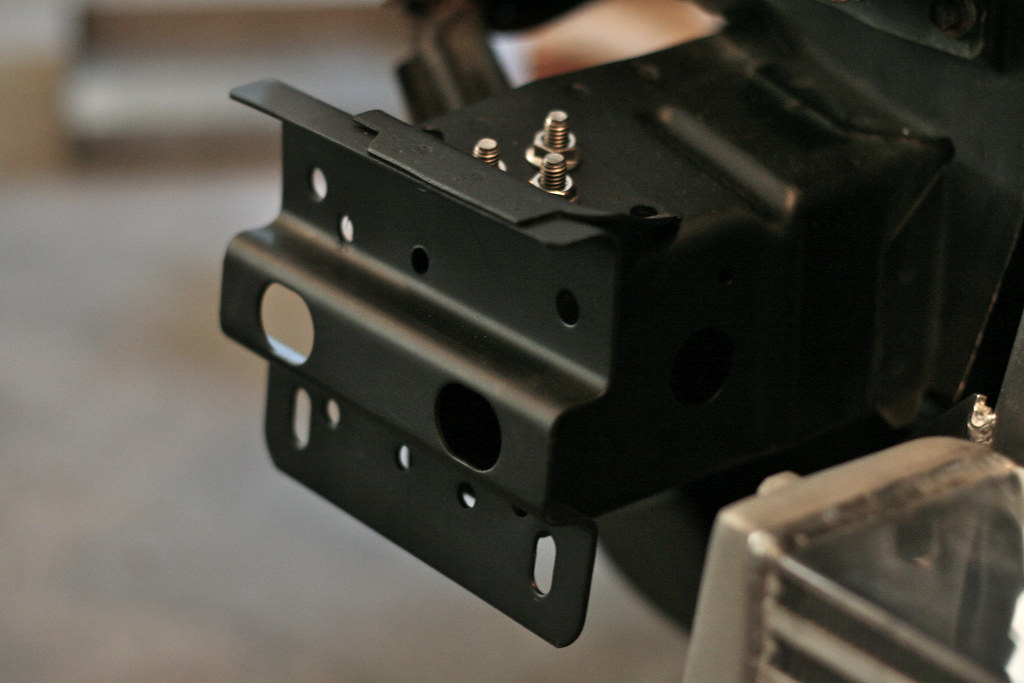
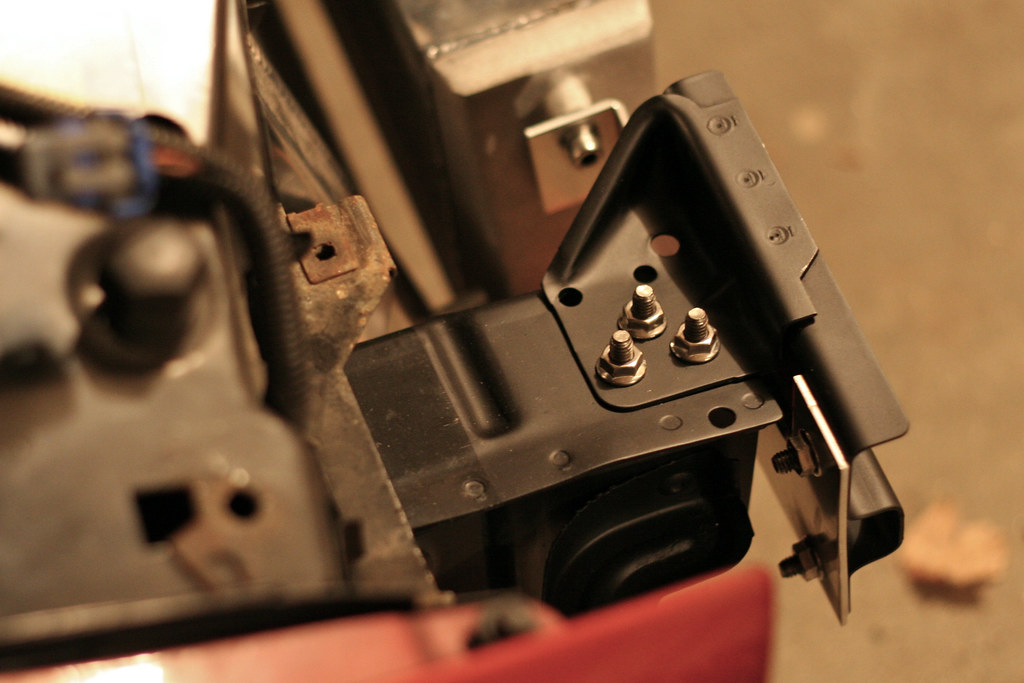
Meanwhile the stock brackets were removed from the leftover crossmember and prepped for their own coat of paint. There had been five spot welds that I had drilled out earlier. Three of these were drilled out to size for the mounting hardware that would place the brackets in their original locations. Bolting the brackets into place was actually a bit of a trick. By placing my bolts vertically on the closed end of a wrench, I was able to blindly carry them to the mounting holes through a hole in the side of the frame rail. Once I got the first one lined up I would poke it up through, place the bracket over the bolt, then thread a nut. With the first one started I would repeat the process for the other two. After getting everything squared up I would get the wrench back in there to hold the bolt while I tightened everything with a ratchet from above. Then it was onto the other side. I did, at one point, get a little too ambitious and got up past my whole hand, bottlenecking my hand at the wrist. Yeah, that took a good 15 minutes to sort out.
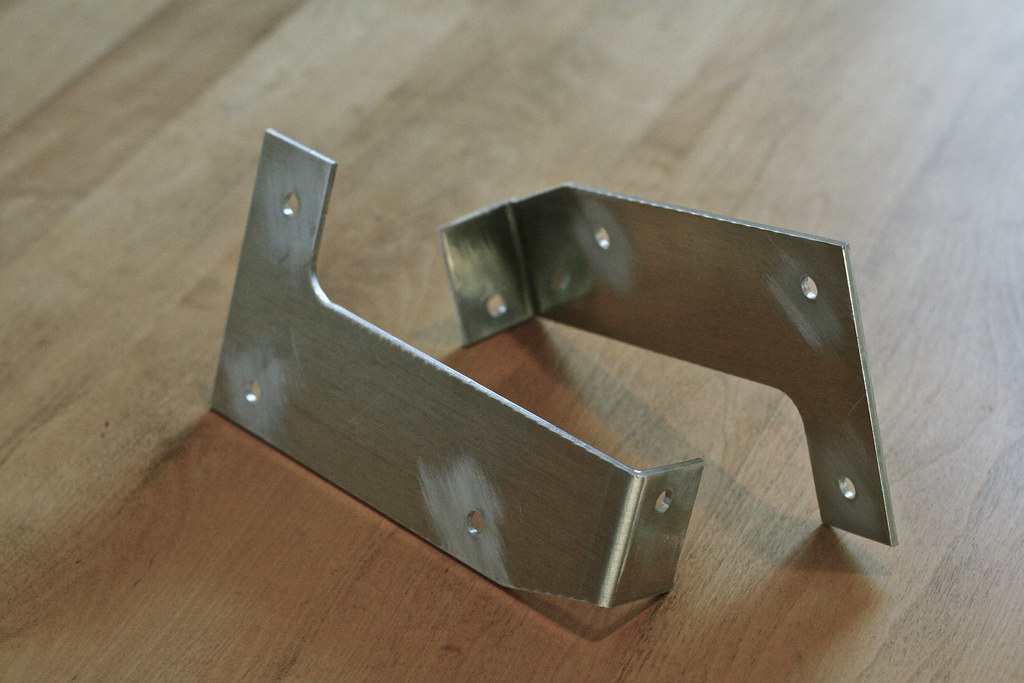
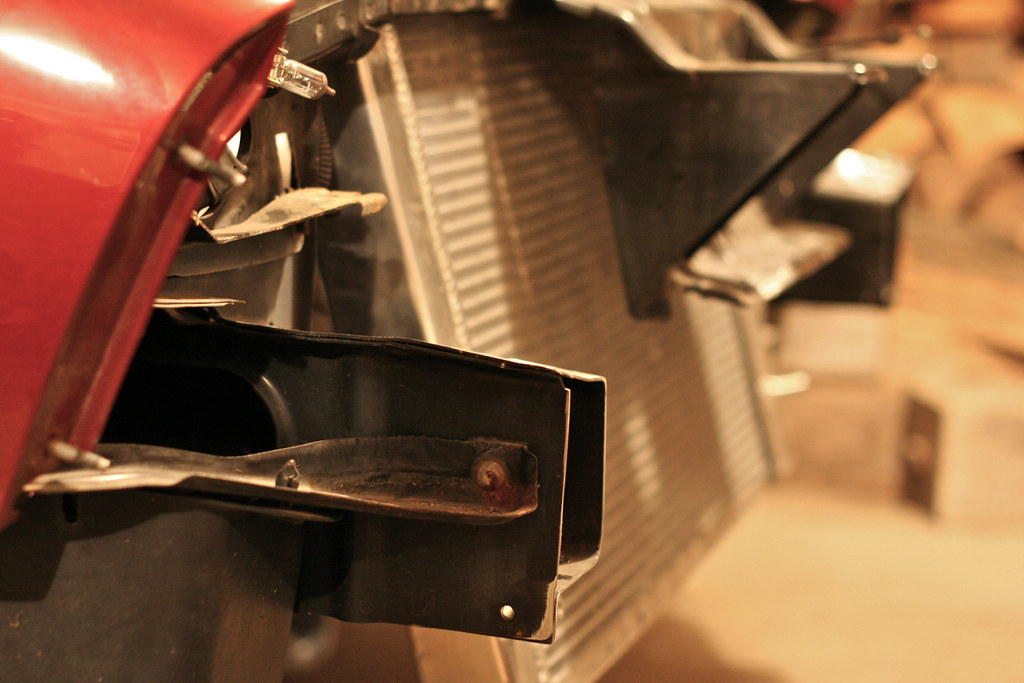
With things on the car buttoned down I moved onto getting the intercooler into place to mock up the brackets to hang it off the chassis. Again, I was utilizing the stock mounting points that had previously hosted the aluminum crash bar, as well as the two mounting points included on the intercooler. I ended up with a set of very simple L-shaped brackets with an additional 90 degree bend (ears for the intercooler) and four holes per bracket.
Hey, this is Xyla95:
ReplyDeletemy inbox should be clear now, I also changed my email address this morning and have very limited forum access as a result.
Do you think its capeable of making a trek from ME to NY?
also if you have some under body shots and engine bay shots?
This comment has been removed by the author.
ReplyDeleteVery educating story, saved your site for hopes to read more! look at this site
ReplyDeleteThis is a splendid website! I"m extremely content with the remarks!. front mount zero turn mowers
ReplyDeleteYou know your projects stand out of the herd. There is something special about them. It seems to me all of them are really brilliant! front mount zero turn mowers
ReplyDelete