May 01, 2013

Downpipe Revisited

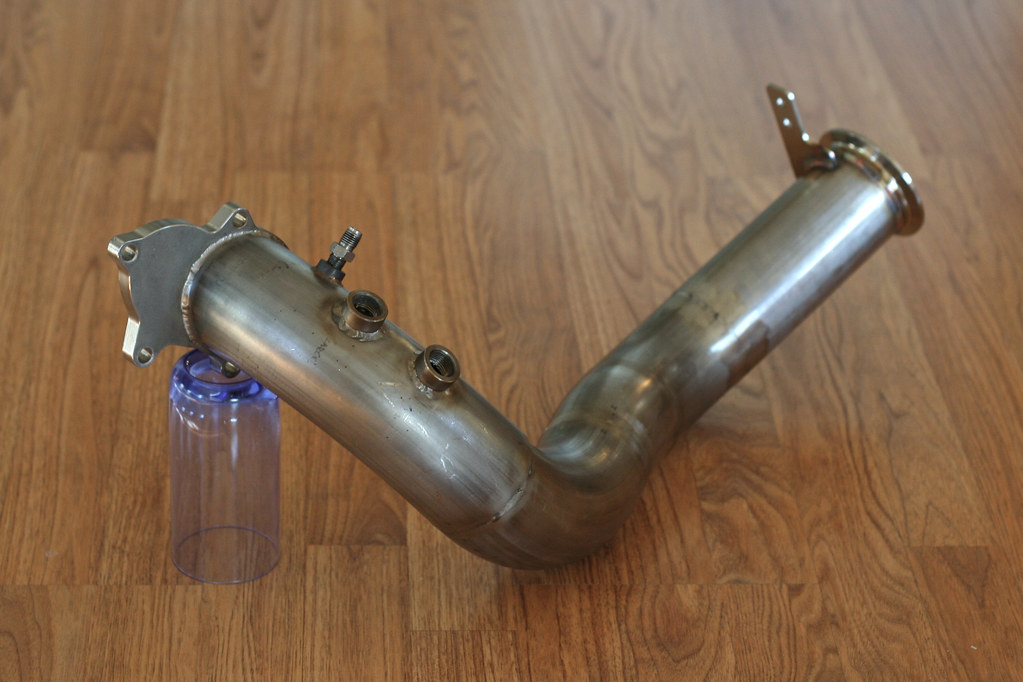
Sometime in February I discovered that the downpipe wasn't quite done yet.


Embarrassingly, I had a bit of an oversight with my placement of the oultet v-band flange when I originally fabricated the thing. As I found it, where it ended up next to the oil pan, was too tight to get the v-band clamp on. How I didn't see this the first time I'm not sure, but after a face-palm, some choice words, and removing the wastegate/dump tube assembly the downpipe was back out again. To remedy the problem involved extending the length by 6" to push the flange out into a more open area. Fortunately I had plenty of spare material kicking around, although it meant sacrificing the v-band flange that was on there. The extra length did create another situation however. In the same fashion as a stock Saturn downpipe, I had wanted to add a bracket to secure the exhaust against the two rearward most mounting points of the transaxle-motor brace. Originally I was going to save this additional bracket for the next length of exhaust, but since the downpipe was now passing under these points I would be adding it to the extension.
April 08, 2013

Laser Cut Goods

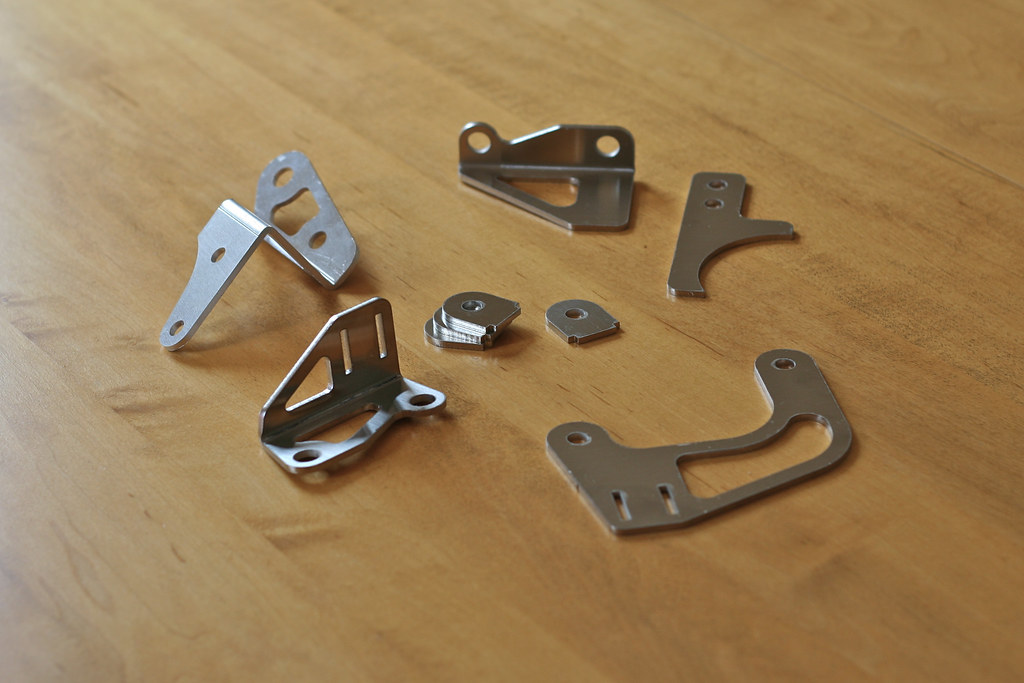
I thought I'd throw up a quick picture of some laser cut pieces that just got delivered.


Everything was cut out of 11-gauge stainless steel with the exception of the bracket on the upper left, which is 1/8" aluminum. Generally I'll fabricate brackets (such as my oil filter relocation bracket) on my own, but my resources tend to confine me to aluminum (I also don't have a proper way to make bends). Since I was going to be using much harder stainless steel, it made more sense to outsource the work for accuracy and a more finished product. It was also a chance to utilize some of my education - the items pictured started out as cardboard templates that I redrew and refined in AutoCAD. I would like to thank Sixthsphere member coppertop_01 (Jeremy) for providing me with his services. I simply provided him with the drawing and he took care of the rest! As for what each piece is, I'm going to wait to tell as they reappear in future posts.

January 18, 2013

Oil Catch Can Preview

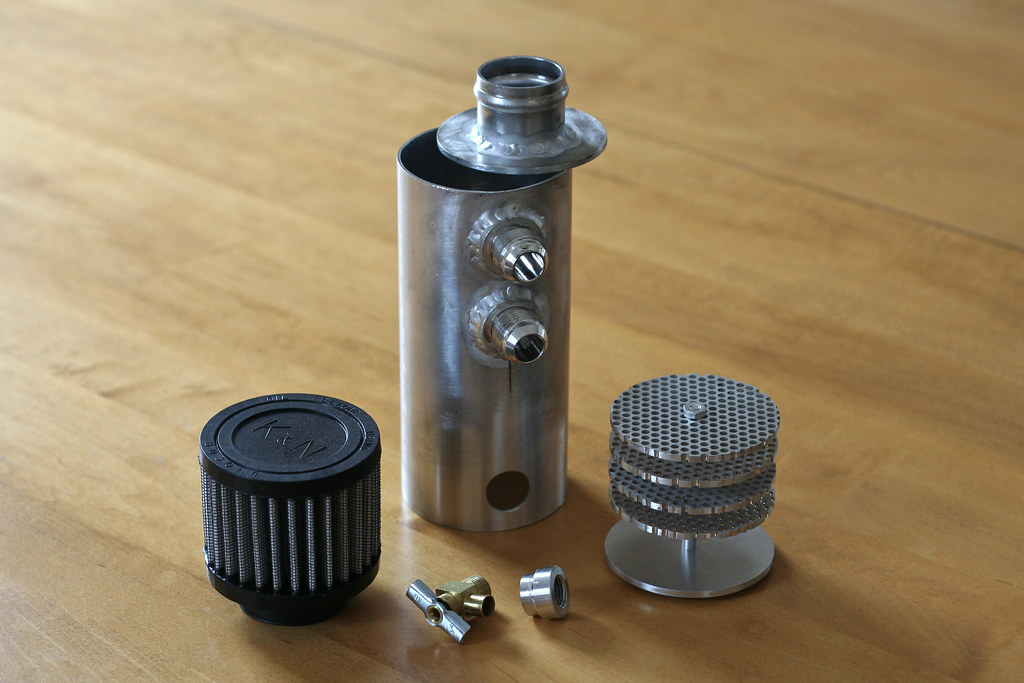
Along with the wastegate dump tube, this is another project that sat on the workbench taped together and waiting for welding, for a good portion of the year.


The first thing you'll probably ask, and this is the first thing my welder questioned - why not just buy one? The answer is that I simply could not find an oil catch can that I liked, and I hunted high and low. However, my persistent searching did expose me to a lot of features I wanted to incorporate, so it wasn't a complete waste of time at least. For all of the variations out there, it was proving annoyingly difficult to find all of said features in one package. Admittedly, on many an occasion, it was little nit-picky details responsible for making me pass on a catch can. We're talking instances where I wanted male AN fittings instead of female (to eliminate the need for an additional fitting between can and hose) or the provided mounting solution (stupid tabbed hose clamps). So, ultimately, I decided it would just be easier to fabricate my own, ensuring it would be tailored to my needs. Plus there is always that little added satisfaction of building it myself.

January 09, 2013

Wastegate, Take 3 (Now With Dump Tube)

After a several month hiatus, I am back with some visible progress. After awhile of picking at projects, I found myself road blocked by welding which I (admittedly) put off for several weeks.


Backing up a bit, in October I had sent out/received my TiAL F38 from a "rebuild". I had had the original wastegate housing powder coated a second time in March, only to experience adhesion issues (chipping) during reassembly. Frustrated, I settled on replacing the housing with one of TiAL's black anodized pieces. This required sending the whole unit in to ensure I wasn't trying to assemble a knock-off. Much to my surprise, the wastegate returned with my damaged housing. Now I have the convenience of a spare should I attempt to powder coat again. One more disassembly was required to clock the housing so the side port was in the right position - hopefully I don't have to take this thing back apart for awhile. Onto the dump tube.

September 07, 2012

Bumper Trimming

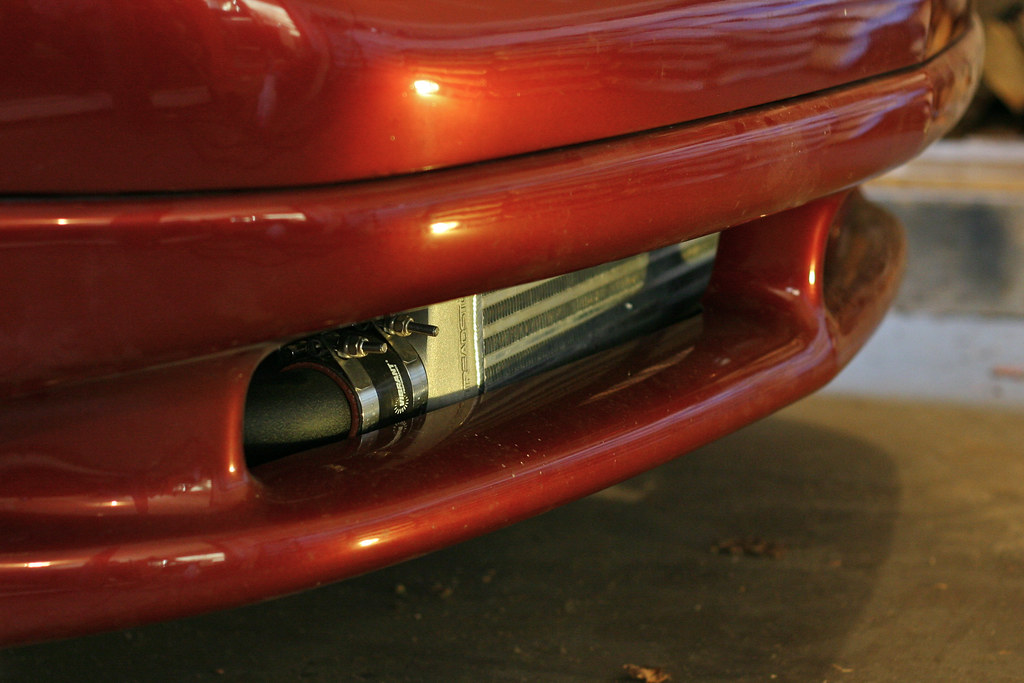
As mentioned in an older post, the nose of the car would no long fit over the intercooler.


To remedy this required some trimming of both the bumper and lower reinforcement (I was certain that I had taken pictures of the modified reinforcement, but have been able to find them). The lower reinforcement is a plastic piece that used to include the grill (cutting this out was one of my earlier modifications) and simply holds the lowest portion of the bumper in place. To clear the intercooler I ended up cutting away a majority of it. 

July 25, 2012

New Axles

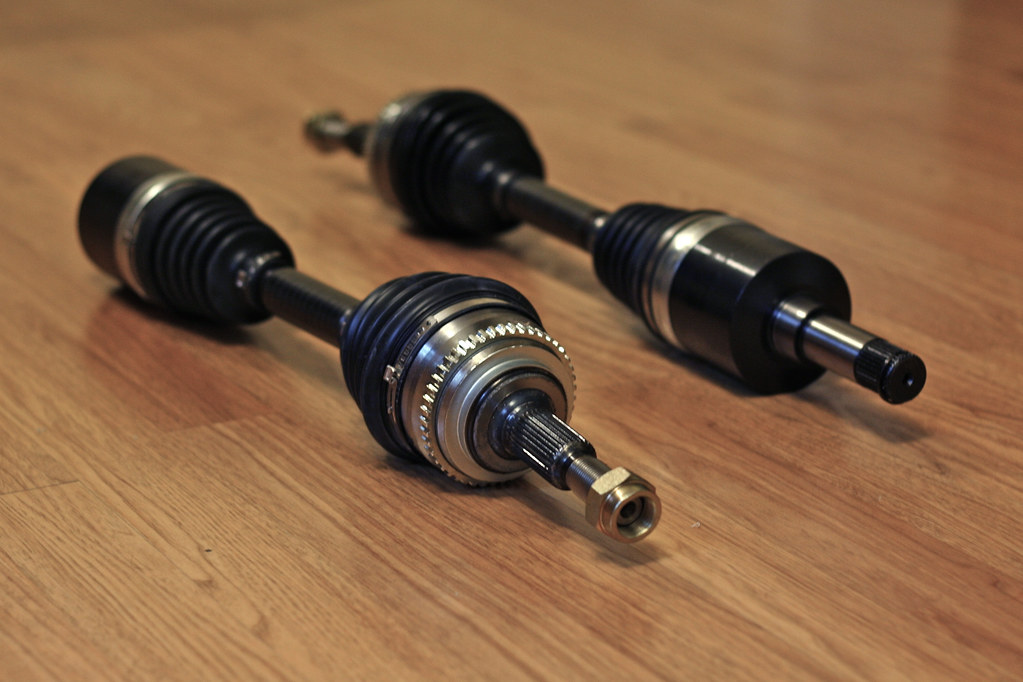
A few weeks ago the car donated another perfectly good part to keep downtime with the daily to a minimum.


On a drive home from Portland, ME (about 35 minutes north of my home in Wells) the passenger side front of the SW started exhibiting a vibration at speed, with a distinct clunk every time the clutch was engaged or depressed - a bad CV joint loading and unloading. I was short on time with a looming alignment appointment, so I jacked the SL2 up and swiped the passenger side axle to get the daily squared away. I turned this into an excuse to purchase a new set of axles for the SL2. Given the mileage on the SW I'd gamble the drivers side axle may not be far behind its counterpart, so a fresh pair on the SL will leave me with a good axle left over (hopefully I won't need it anytime soon). Replacement axles for these cars have always been hit or miss as a lot of the reproduction units have inconsistencies. In a lot of instances the CV boots are larger than stock, making them prone to rubbing on various areas of the drivetrain or chassis. I did my homework to narrow the field down to axles others have been successful with, and ended up purchasing a set of EMPI axles through Rock Auto.

July 22, 2012

Vented Cam Cover Preview

This is another long-term project that is finally coming to a close. Once again I've gone overboard for a stock motor build, but I couldn't help myself.


This project started as another "might as well" moment. I knew at the very least I wanted an aluminum cam cover with the full "Twin Cam 16V Saturn" script that was found on the '95 DOHC's for that year only ('94 and early only said "Saturn" while '96 saw the introduction of composite cam covers). Years ago a local Sixthsphere member turned one up for me, only to sit around in the trunk of the car while I tackled other portions of the build. With the intention of getting the car to run this year, I finally unearthed it. By this point I had it in my mind that I was going to build a vented cam cover. I poured over various applications (namely Honda B-series and Mitsubishi 4G63's) for ideas to determine an adequate size and placement of a pair of male AN fittings before choosing -10AN. For some time after I continued to toy with various locations for my fittings until I settled on mimicking the two other vented S-Series cam covers that I knew of - already proven to work right?