March 23, 2011

More Parts, Turbo/Manifold Mounted

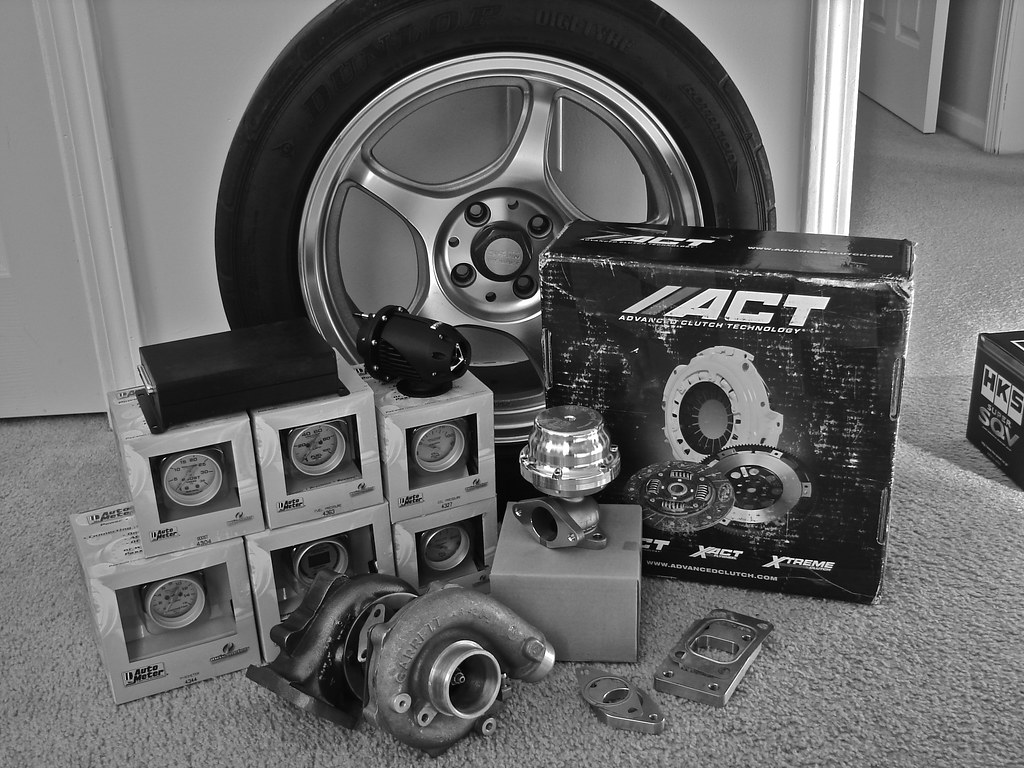
The flow of parts is on the rise again. Friday my first order from Summit Racing showed with an order from ATP Turbo following on Monday. 


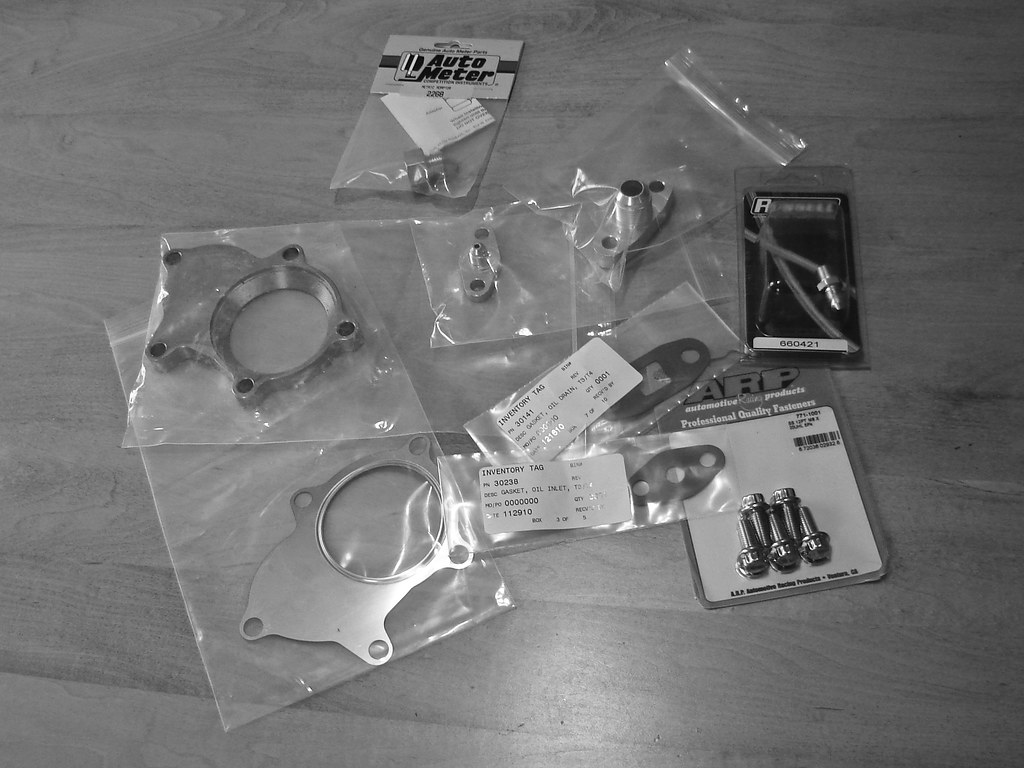
With my tax return and my summer job gearing up on the 14th (of next month) things are looking pretty good. Last night I took some time to button up the loose ends that were holding up final installment of the turbo/manifold assembly. First I got the oil feed/drain fittings bolted up with more ARP hardware. On the turbine I chased the threads in the five bolt holes for the exhaust outlet and screwed in some leftover ARP accessory studs. Afterward I mocked everything up so I could clock the turbocharger. Once I got everything where I wanted I pulled the unit one last time to unmask the exhaust ports and put an OEM exhaust manifold gasket in place. The five 12-point ARP nuts are all snugged down for the last time this round (hopefully). 

February 23, 2011

Dash Wiring Finished

...almost at least. Not a whole lot to see here but I'm providing a visual anyway (please note that I tucked the harness away after taking this photo).


I decided to man up and brave the cold to get the remaining wiring out of the way. This consisted of tying the female half of the fuse block harness to the leads off of my gauge cluster harness as well as the MS2. I did manage to create a redundant connection. I put a 2-pin connector in between the female 12-pin and the MS2 harness for my power lead and the MS2 lead to keep things disconnect-able in the event I pull any of the wiring. I could have accomplished the same thing by bypassing the 12-pin connector completely for the 2-pin, but the two leads were already pinned out in the male half of the 12-pin. It seemed like a waste to remove them. As usual everything was soldered, shrink-wrapped, then tidied with zip-ties. The only thing keeping me from putting the dash top back on; I need to tap into the dimmer switch for the gauge illumination (I ran out of connectors) and I want to run an extra wire through the firewall grommet for the manual fan switch. 

February 21, 2011

Fuse Block Finished

Picking up from where I left off last time, I recently got to put the dash back together.


It pained me to pull the dash all apart just to get the glove box back out but I think it was worth the trouble. In the last post I introduced "THE hole", a project that turned into a bit of a nightmare with some really dumb mistakes. After fixing everything and getting back on track I moved onto laying down more of the same adhesive back felt I had used under the MS2. This time it would be over the area surrounding where the fuse block is mounted. Originally intended purely for aesthetics, it also doubled as a great way of hiding my repairs.  The material had some stretch to it so I was able to make it appear fairly seamless. After it was all in place I used an exacto knife to trim out the hole for the fuse block to poke through.

January 26, 2011

Late Updates

Once again I am slacking with fresh blog posts. Anyway here is where I am at so far.


November 30, 2010

First Fresh Post

We are up to speed! I can finally move onto posting updates with new progress. Please forgive the gap between my last archive post and now. I definitely have my work cut out for me after transferring my old posts, re-editing all of my photos, and switching to a better image host (Flickr). So what have I gotten done in the meantime? 


Yesterday, picking up on my shifter build, I altered the interior end of a spare set of shifter cables. One of the features of the new shifter was mounting for ball joint rod ends (or helm joints), from McMaster-Carr (part #6072K155), to eliminate the stock plastic cable ends. Attaching these was a very straight forward procedure. I eyeballed the rod ends against the stock ends so I could get a rough measurement of how far to thread the metal rod (marked with a sharpie).

October 06, 2010

Getting this blog up to speed...


Introduction

The name "Detail Junky" stems from my obsession with my car and all of the little things. The prior names for this build was "the high school budget build", a name that quickly went obsolete. The tallied investments have proved bank breaking but all of this progess wouldn't have been possible if I'd avoided pleading poverty every time I made a purchase. In retrospect I imagine I'd be a few steps behind if I'd been afraid to spend. When it came to spending I always shot (and shoot) for the best. When it came to working there was alot of cussing, an unhelpful Haynes manual, the forums, alot of common sense, and a very patient mentor (thanks to Dad). All of the headaches, the many stripped fastners, and other nightmares have contributed heavily to a never ending learning curve, something this car has been the absolute foundation of.


October 05, 2010

New home for "The Detail Junky" build...

Sixthsphere.com is going through some changes and I've decided to move my build to its own dedicated page. This will also give me a chance to reformat my build with easier access to information while providing better quality images (the quality of my current image host, photobucket, is awful).